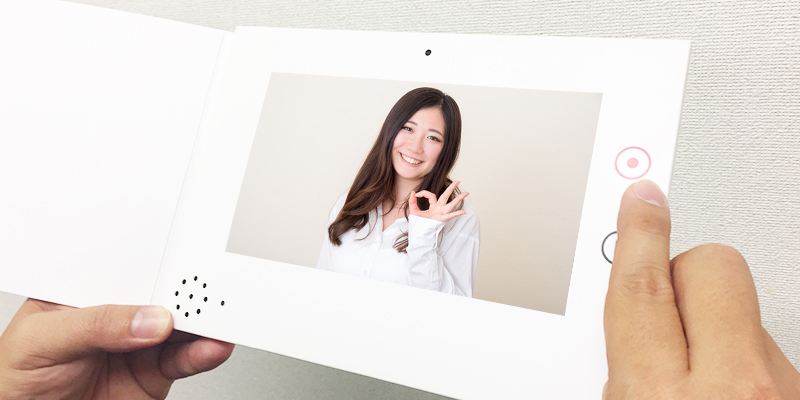
How To UseIt’s So Easy
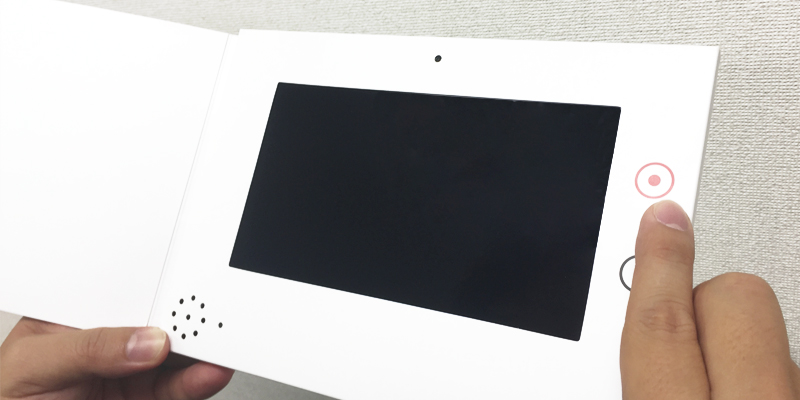
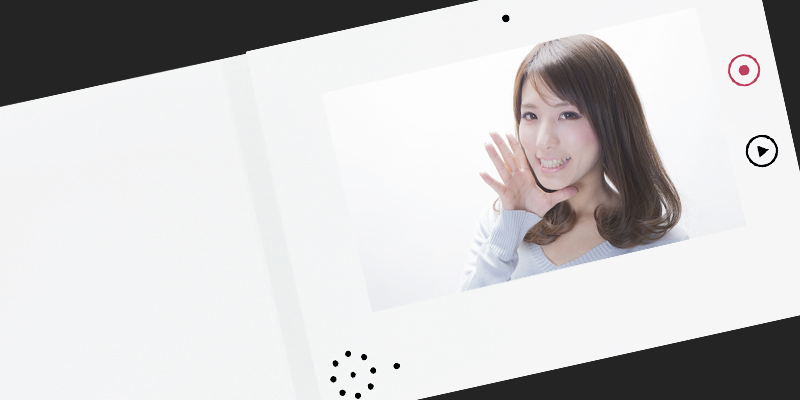
- Just a single-touch operation to record your video message.
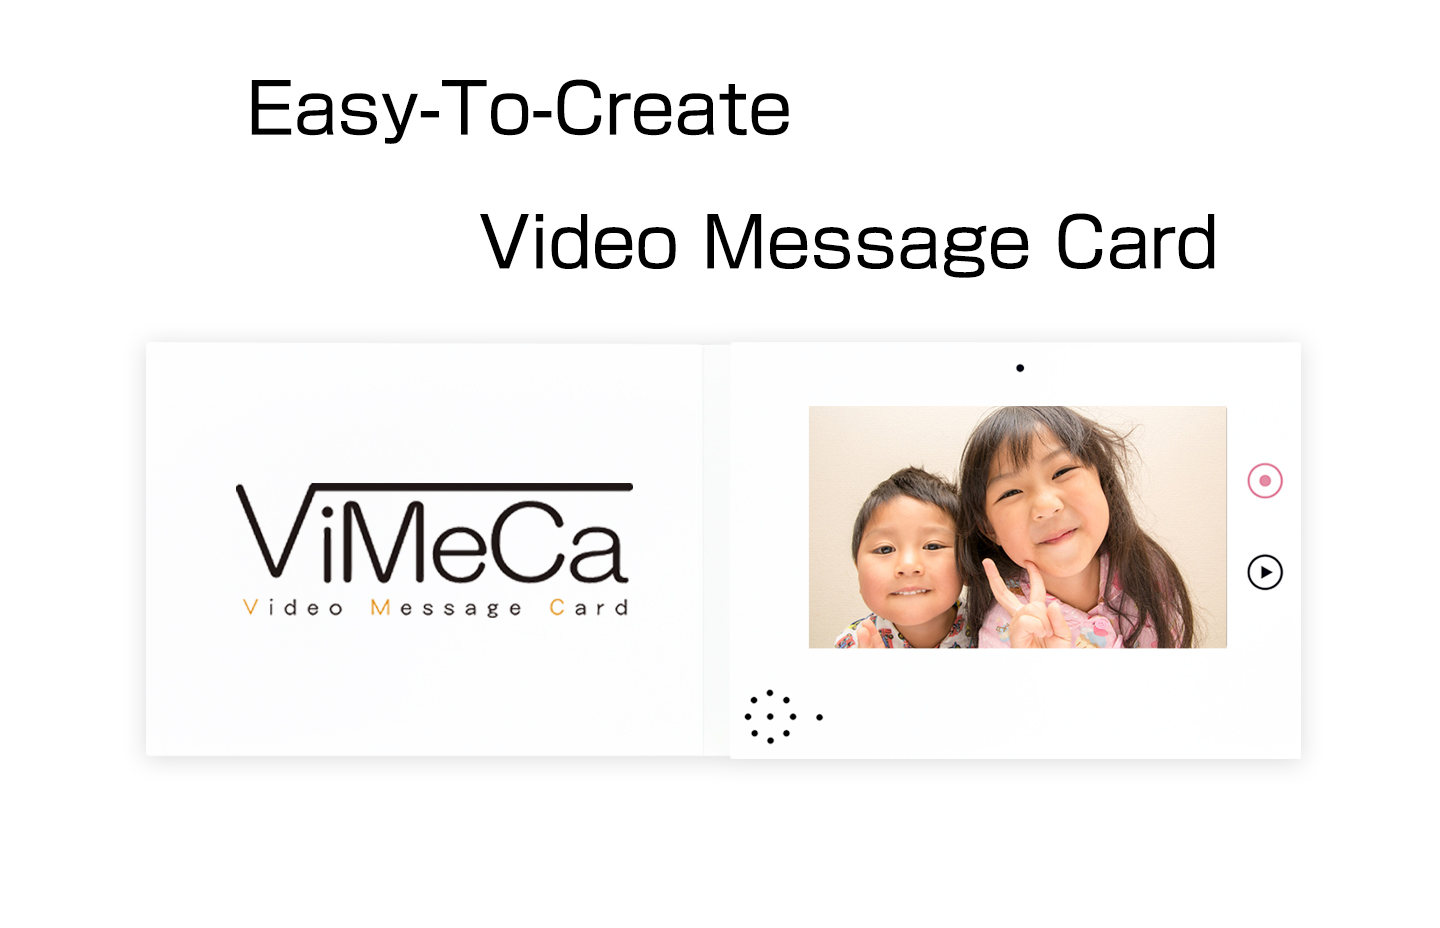
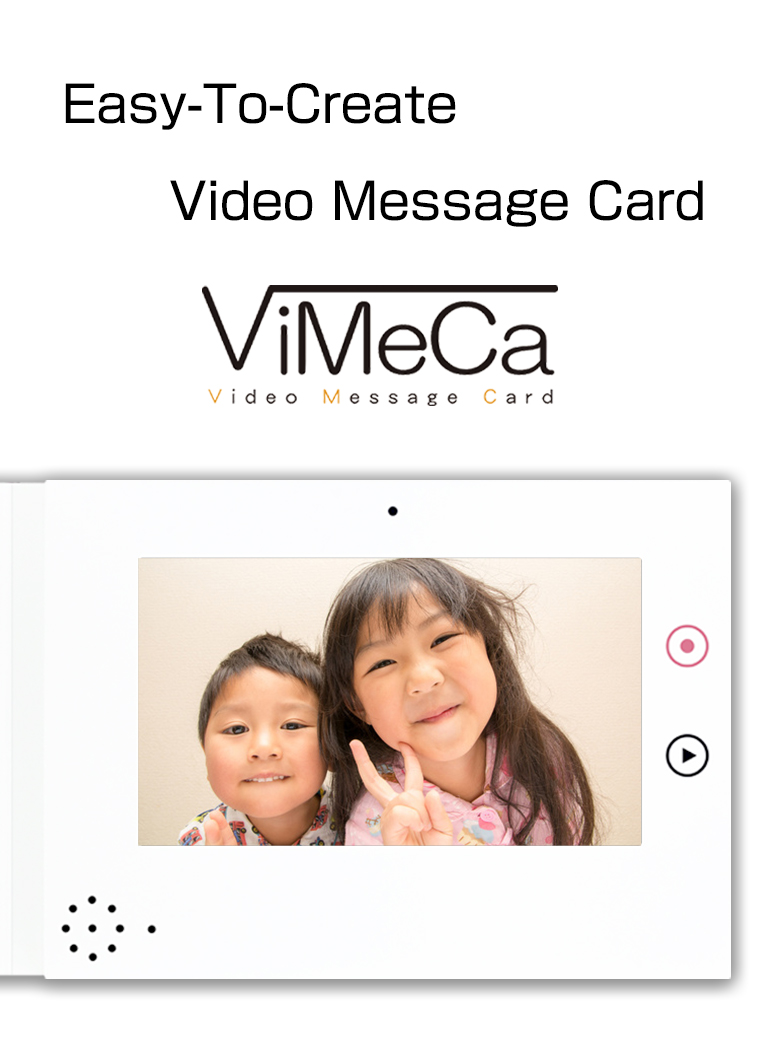
- Video plays back automatically when the card is opened.
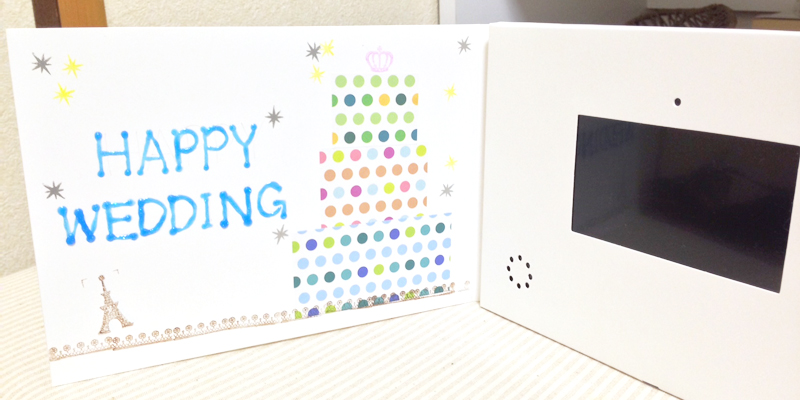
- You can add embellishments and write messages in the space provided, for even more personal touch.
FeatureKey Features
- Easy to use. Control record and playback using a single button. No need to use a computer.
- Makes a novelty item for weddings, birthdays, holidays and other special occasions.
- Video recording time of 4 minutes. Playback on a built-in 7-inch Liquid Crystal Display.
- Sturdy, extra-thick paper construction. Perfect for adding embellishments and handwriting messages.
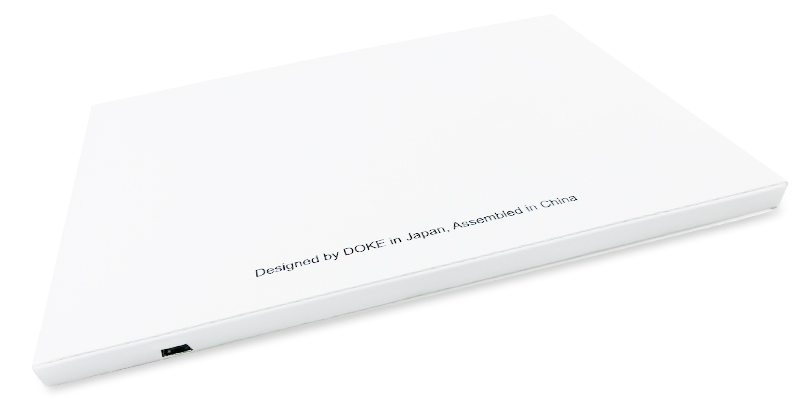
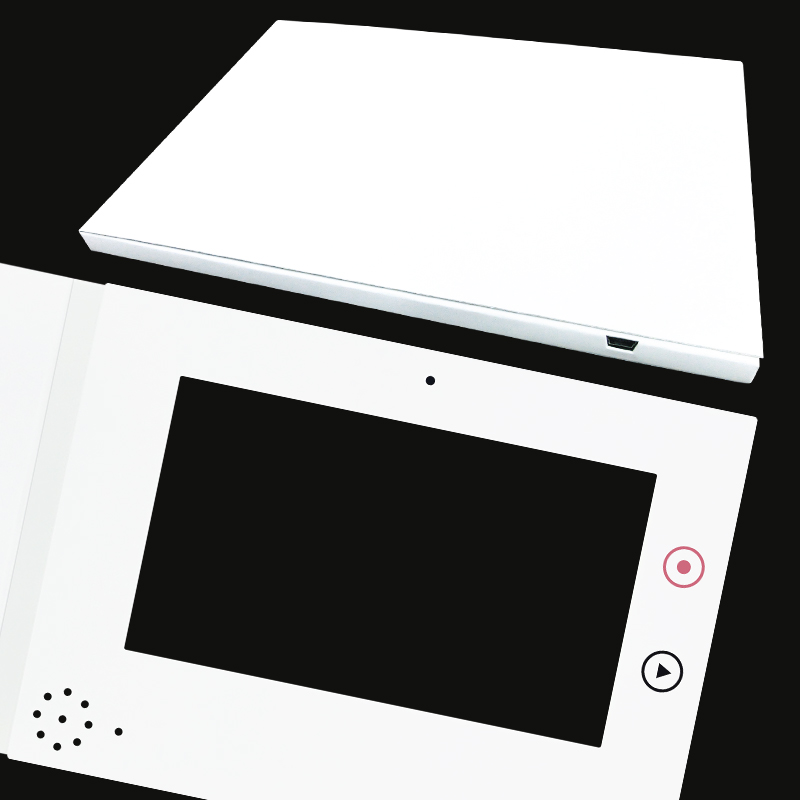
DesignSimple, Beautiful
A sleek and modern look comes in white.
Designed to let your video message take “center-stage.”
Let your imagination rule. Make it your own ViMeCa for that special person.
ExampleMany Uses for All Seasons
ViMeCa is perfect for special occasions and holidays year-round. Weddings, birthdays, anniversaries, graduations, thank you, Mother’s Day, Christmas, Hanukkah, New Year’s Day, and more… Imagine sending a video message card to family and friends who live far away. Grandparents will love it!
Introduction
-
- ViMeCa of 4.3 type which was previously sold was introduced to Youtuber of the United States
(※ViMeCa of the 4.3 type finished sale.) -
- ViMeCa of 4.3 type which was previously sold was introduced to Youtuber of the United States
Other UseUse ViMeCa to Transfer Video Files
Your video message on ViMeCa can be downloaded to your computer.
You can also import a video to ViMeCa from a recording device like a camcorder.
All Users Saving a ViMeCa recording to your computer
-
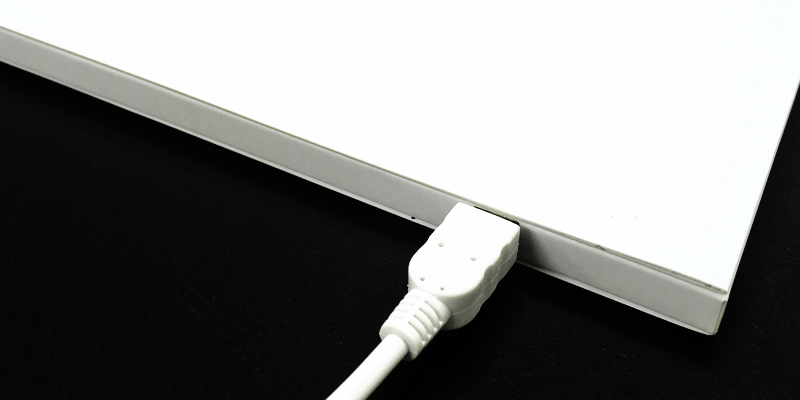
- 1.Connect ViMeCa to your computer.
- Use the supplied USB cable to connect ViMeCa to your computer.
※If you open ViMeCa after connecting it to the computer, the USB icon will show up on the LCD screen and you will not be able to do any operations on the device.
-
- 2.Install the driver.
- The driver software will begin installing on your computer automatically.
-
- 3.Check the recorded video file on your ViMeCa
- If ViMeCa will be automatically detected by your computer, open the folder which will show up on the screen. If not, on Windows machines ViMeCa’s data should show up in "My Computer" as a new "Removable Disc". On Macs, just open newly displayed folder with Finder etc. If you have not record anything with ViMeCa, no data will appear. Already captured videos will show up as AV001.avi movie files.
-
- 4.Save your ViMeCa video file.
- AVI001.avi is a movie file captured by ViMeCa. Copy it to some folder on your computer. After copying the file, newly captured movies with ViMeCa will replace the older files on the device.
You can recover older data by replacing the movie on your ViMeCa with the file copied on your computer before. That way, if you will save the new data in a different location than the one before, you will always be able to recover your older movies.
-
- Note
- We cannot hold responsibility for any loss of data due to mishandling while operating the above procedure. Please execute at your own risk.
Advanced Users Importing your video to ViMeCa
-
- 1.Prepare your video file.
- ※When recording the movies with cameras, smartphones etc., depending on the recording’s resolution and framerates, there may be cases when you will not be able to play them on your ViMeCa, even after converting them to *.avi files.
In order to play on ViMeCa, try recording them using the resolutions and framerates lower than 720p and 30fps.
Keep that in mind when you will be recording videos for your ViMeCa.
Move videos captured with your camera/smartphone etc. on your computer, and edit them by using your favorite video editing software. You want to create a video file with size about 70MB. Also, don't forget to save it as *.avi.
-
- 2.Connect ViMeCa to your computer.
- Use the supplied USB cable to connect ViMeCa to your computer.
※If you open ViMeCa after connecting it to the computer, the USB icon will show up on the LCD screen and you will not be able to do any operations on the device.
-
- 3.Install the driver.
- The installation of the driver software to your computer will begin automatically.
-
- 4.Locate the ViMeCa folder on your computer.
- If ViMeCa will be automatically detected by your computer, open the folder which will show up on the screen. If not, on Windows machines ViMeCa’s data should show up in "My Computer" as a new "Removable Disc". On Macs, just open newly displayed folder with Finder etc. If you have not record anything with ViMeCa, no data will appear.
If you have already a video file on your ViMeCa, delete the file named AV001.avi or move it to some location on your computer beforehand.
-
- 5.Import your video file to ViMeCa.
- Copy the newly made video file to the location written in the step 4.
Your video is now imported to ViMeCa. You can remove the USB connector, and verify video can be played back on ViMeCa.
-
- Note
- We cannot hold responsibility for any loss of data due to mishandling while operating the above procedure. Please execute at your own risk.